
Yes, plaster walls built before the late 1980s can contain asbestos, and only a laboratory test confirms whether yours do. If you suspect it, stop disturbing the wall now and arrange a pre-renovation survey. Confirmed asbestos gives you three paths: leave it undisturbed, encapsulate it, or hire licensed abatement with clearance testing afterward.
TL;DR:
- Asbestos in plaster cannot be identified visually; testing by a licensed professional is necessary to confirm its presence.
- Suspect plaster installed or patched between the 1950s and late 1980s poses a higher risk, especially if friable or textured, but only testing verifies asbestos content.
- Fractured or disturbed asbestos plaster releases airborne fibers that can cause serious health issues years later, making careful handling crucial.
- Full removal requires licensed abatement with strict containment, clearance testing, and proper disposal; skipping steps risks legal and health consequences.
- Homeowners should always obtain documented pre-renovation surveys and final clearance tests, as lacking proof can cause issues during property transactions later.
Table of Contents
- Asbestos plaster identification: what your eyes can and can’t tell you
- Health risks of asbestos: when old plaster actually becomes dangerous
- When was asbestos used in plaster? Eras and materials to flag
- How professional asbestos testing works, from sample to lab report
- What to do if plaster tests positive for asbestos
- How to hire an asbestos inspector or abatement contractor
- How Hmjcontracting approaches plaster asbestos projects
- The gap between “asbestos-safe” advice and what actually protects homeowners
- Get a licensed asbestos survey and abatement quote from Hmjcontracting
- Sources
Asbestos plaster identification: what your eyes can and can’t tell you
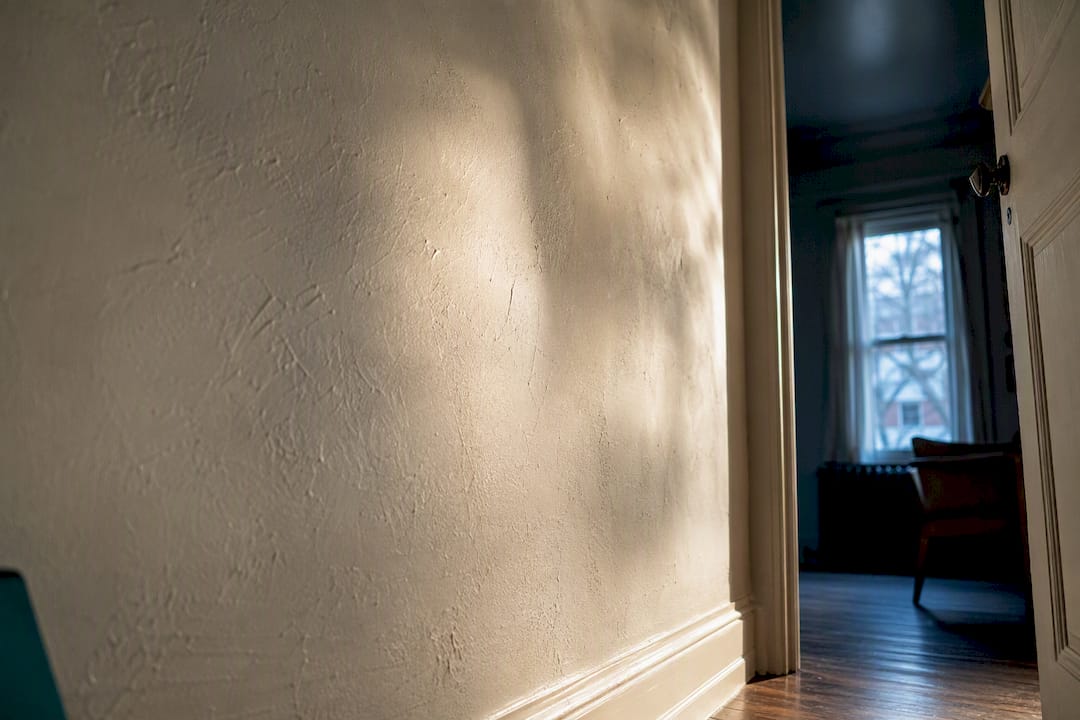
You cannot identify asbestos by looking at it. That’s not a caution, it’s a fact confirmed by occupational health authorities: asbestos fibres are microscopic, and a wall finish that contains them looks identical to one that doesn’t. CCOHS notes plainly that no visual inspection can confirm or rule out asbestos in a building material. Colour, texture, and age give you clues, not answers.
That said, certain signs should raise your guard enough to call in a professional rather than shrug it off:
- The plaster was installed or patched anywhere between the 1950s and the late 1980s.
- It has a stippled, “popcorn,” or acoustical texture, especially on ceilings.
- It feels soft, chalky, or crumbles easily under light pressure, which makes it friable and more likely to shed fibres.
- It’s located near older mechanical rooms, boiler areas, or in buildings with a commercial or institutional history.
- Previous renovation records mention “acoustic plaster” or don’t mention asbestos abatement at all, despite the building’s age.
None of these signs confirm asbestos on their own. They tell you where the risk is concentrated enough to justify testing before you go further, which matters because acoustical and friable plaster mixes were often mixed on site and tend to be more likely to release fibres than a dense, intact skim coat.
Pro Tip: Never sand, scrape, drill into, or take your own sample of suspect plaster to “check.” Amateur sampling is one of the most common ways homeowners accidentally release the exact fibres they were trying to identify, according to CCOHS. If a wall looks suspicious, leave it alone and call a surveyor.
Health risks of asbestos: when old plaster actually becomes dangerous
Asbestos fibres cause mesothelioma, lung cancer, and asbestosis, and the damage takes decades to surface. Someone exposed today might not see symptoms for 20 to 40 years, which is exactly why the disease has a reputation for catching people off guard. This latency is also why “I feel fine” tells you nothing about whether an exposure mattered.
The risk isn’t the material sitting quietly in your wall. It’s the fibres becoming airborne. Intact plaster in good condition generally poses little immediate danger if left undisturbed, according to Health Canada’s guidance on asbestos in the home. The danger shows up the moment that plaster is sanded, drilled, demolished, or otherwise broken apart, sending fibres into the air where they can be inhaled.
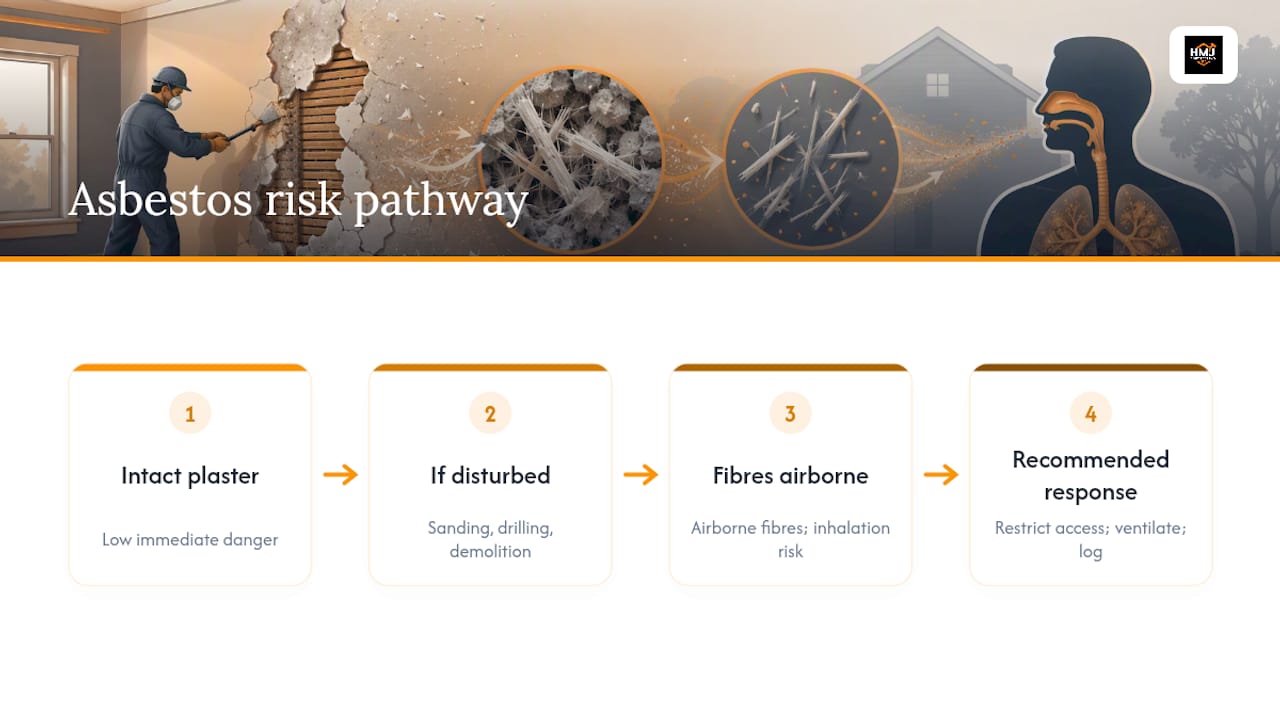
That distinction shapes every decision that follows in this guide, but it doesn’t mean small exposures are harmless enough to shrug off. If plaster is accidentally disturbed, treat it as an incident. Ventilate carefully, restrict access, and document what happened rather than assuming a brief exposure carries no consequence.
When was asbestos used in plaster? Eras and materials to flag
Asbestos use in plaster and related building products peaked from the mid-1900s through the late 1980s. WorkSafeBC notes that thousands of building materials manufactured from the 1950s to the 1990s may contain asbestos, which covers most homes and many commercial buildings built or renovated in that window.
Plaster itself shows up in several forms worth flagging for a surveyor:
- Bonding coats and base plaster layers applied before drywall became standard.
- Skim coats used for smooth wall and ceiling finishes.
- Acoustical or “popcorn” plaster, sprayed or troweled onto ceilings for sound dampening.
- Textured finishes and jointing compounds used to patch or finish seams.
If your property has any of these, it likely has neighbours worth checking too. Vinyl floor tiles, pipe insulation, and cement-based products from the same era are frequently found alongside asbestos plaster, and older homes often carry multiple legacy hazards at once, including vermiculite insulation that carries its own asbestos concerns.
How professional asbestos testing works, from sample to lab report
Confirming asbestos requires an accredited surveyor, not a guess and not a home test kit. Health Canada recommends a pre-renovation survey whenever materials might be disturbed, and that survey follows a specific sequence:
- Site assessment. A qualified surveyor walks the property, identifies suspect materials, and maps sampling locations based on age, condition, and location.
- Controlled sampling. Small samples are taken using techniques that limit fibre release, then sealed immediately to prevent contamination or exposure to anyone nearby.
- Chain of custody. Each sample is logged, labelled, and tracked from collection through delivery to the lab, so results can be traced back to an exact spot in your home.
- Laboratory analysis. The lab identifies whether asbestos is present, which fibre type it is, and sometimes the percentage by weight.
- Written report. You receive a certificate confirming results, along with the chain-of-custody documentation. Keep both; you’ll need them for contractor bids, insurance, and any future sale.
| Step | Typical timeframe | What you receive |
|---|---|---|
| Site visit and sampling | Same day to a few days | Sampling log, site notes |
| Lab analysis | A few business days to about two weeks | Lab certificate with fibre type |
| Full survey report | Delivered after lab results | Written report with recommendations |
Costs and turnaround vary by property size and how many samples are needed, so ask for a written quote before booking. A surveyor who won’t provide chain-of-custody documentation isn’t one worth hiring.
What to do if plaster tests positive for asbestos
A positive result doesn’t automatically mean tear-out. You have three legitimate paths, and the right one depends on the material’s condition, its location, and what work you’re planning.
- Leave it undisturbed. If the plaster is intact, stable, and won’t be touched by upcoming work, many owners choose to leave it in place. Document the test results and location clearly so future contractors, buyers, or your own future self know it’s there before any drilling starts.
- Encapsulate or enclose it. Sealing the plaster with a specialized coating, or covering it with a new layer of drywall, can contain fibres without full removal. This works best when the material is in reasonably good shape and the goal is containment rather than renovation access.
- Full professional abatement. When plaster must be removed for renovation, licensed abatement is the only safe route. Containment, HEPA vacuuming, sealed waste bagging, and disposal at an approved facility are standard practice, and IHSA’s guidance details these containment protocols as the baseline for any renovation or demolition project touching asbestos.
If plaster gets accidentally disturbed during any of this, whether by a stray drill or a curious contractor, evacuate the room, close doors, and restrict access immediately. Contact a licensed professional before anyone re-enters. Trying to clean it up yourself with a household vacuum spreads fibres rather than removing them.
Pro Tip: Ask any contractor which of the three options they’d recommend for your specific plaster, and why. A contractor who jumps straight to full removal without discussing condition or location first may be selling a bigger job than you need.
How to hire an asbestos inspector or abatement contractor
The questions you ask before signing a contract matter as much as the work itself. Confirm the contractor holds current licensing and insurance for asbestos abatement in your province, and ask for references from recent, comparable jobs. Ask specifically what containment method they’ll use and whether post-job clearance testing is included in the price, not billed as an add-on afterward.
Insist on paperwork at every stage:
- A pre-renovation survey report confirming what’s present and where, before any demolition begins.
- An itemized written estimate listing containment setup, HEPA equipment, disposal fees, and clearance testing as separate line items, not one lump sum.
- A documented abatement plan describing the containment approach, whether that’s negative-pressure enclosures, sealed decontamination units, or double-bagged waste transfer.
- Proof of disposal at an approved facility, confirming the waste didn’t end up somewhere it shouldn’t.
- A final clearance report confirming air quality is safe before anyone re-occupies the space.
Skipping any one of these weakens your legal and insurance protection later. A missing clearance report or survey document can create real problems if you sell the property, since buyers and their lawyers increasingly ask for this paperwork during due diligence. Under Canada’s Prohibition of Asbestos Regulations, the ban on new asbestos products wasn’t retroactive, so the responsibility for managing legacy asbestos safely still sits with the property owner.
How Hmjcontracting approaches plaster asbestos projects
Every plaster abatement project Hmjcontracting takes on follows the same sequence: survey first, testing coordination second, containment planning third, then licensed abatement, then clearance testing before anyone moves back in. Skipping a step in that order is how projects end up with contaminated air, failed clearance results, or paperwork gaps that surface later during a sale.
Documentation isn’t an afterthought in that process. An itemized quote, proof of insurance, and a clearance report before re-occupancy aren’t nice extras, they’re the difference between a job that protects you legally and one that leaves you exposed if a problem shows up years later. Renovating with asbestos present requires exactly this kind of sequencing, and it’s worth confirming any contractor you hire follows the same order, not a shortcut version of it.
The gap between “asbestos-safe” advice and what actually protects homeowners
Most advice online treats asbestos in plaster as a binary: found it, remove it. That framing sells more abatement jobs than it needs to, and it ignores what the research actually supports, which is that intact, undisturbed material in good condition is a manageable risk, not an emergency.
Where I think homeowners get burned isn’t from leaving stable plaster alone. It’s from renovating without testing first, because the cost of a survey feels optional right up until a drywall crew disturbs a ceiling nobody thought to check. The real failure point in most asbestos incidents isn’t the material itself, it’s the decision to skip the $300 to $500 survey because the timeline felt tight.
The other underestimated risk is paperwork, not fibres. A homeowner who gets abatement done without a clearance report has no way to prove the air was safe before drywall went back up, and that gap shows up years later during a home sale when a buyer’s inspector asks for documentation that doesn’t exist. Treat the report as part of the job, not a bonus.
— Jason
Get a licensed asbestos survey and abatement quote from Hmjcontracting
A licensed abatement contractor matters here because the containment protocols, clearance testing, and disposal rules around asbestos aren’t optional extras. They’re what keeps you, your family, and future occupants safe, and what protects you legally if the property changes hands. A licensed abatement contractor coordinates the full sequence for properties: pre-renovation survey scheduling, laboratory testing coordination, licensed abatement with HEPA containment, and a final clearance report before you move back in, typically with itemized written quotes so you know the scope before work starts.

If you’ve spotted any of the warning signs covered above, whether it’s an acoustical ceiling, a mid-century build date, or plaster that’s starting to crumble, don’t guess at what’s next. Request a free estimate for licensed abatement services and get a clear, itemized plan before any wall comes down.
This article is general information, not a substitute for advice from a qualified doctor. Consult a qualified healthcare professional about your own circumstances before acting on anything here.
Sources
- CCOHS — Asbestos: in the home
- IHSA — Asbestos controls (construction, renovation, demolition)
- WorkSafeBC — Asbestos campaign
- Prohibition of Asbestos and Products Containing Asbestos Regulations (SOR/2018-196)