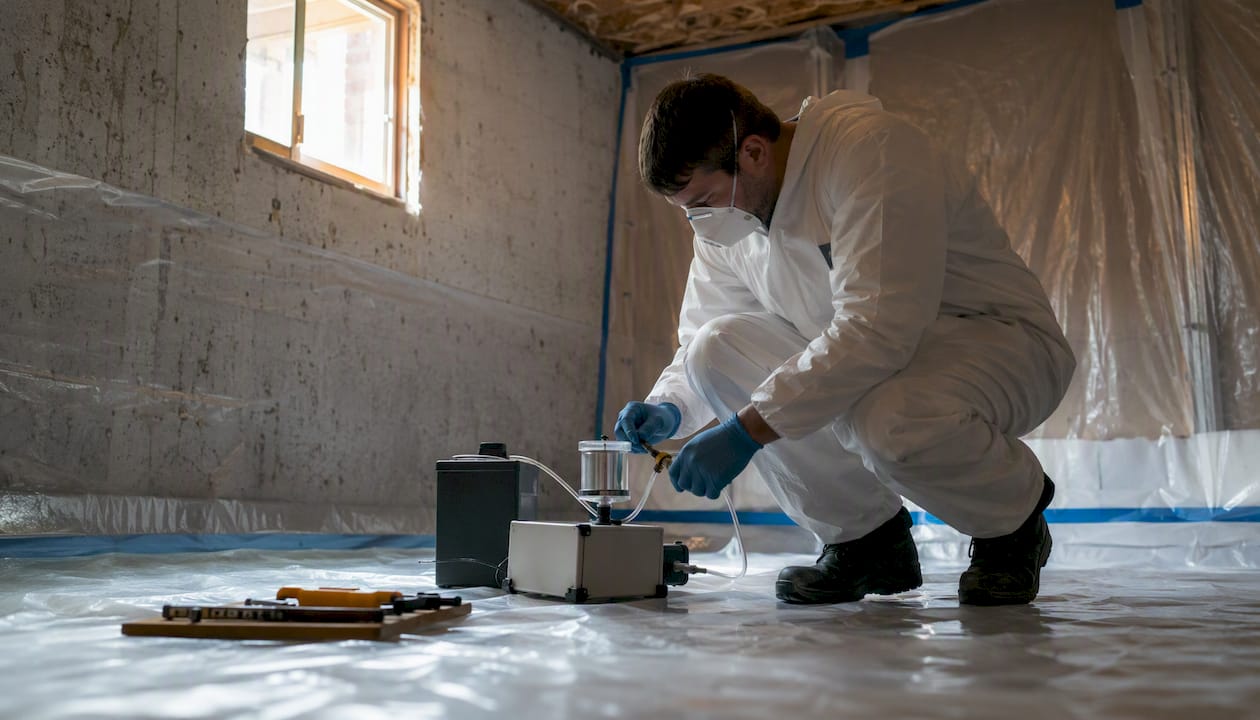
A mold clearance test, also called post-remediation verification (PRV), is an independent assessment performed after remediation but before containment removal, confirming the mold has actually been removed and the space is safe to reoccupy. It is not the same as the diagnostic testing done before cleanup starts.
Here is what to do before you sign off on any remediation job:
- Hire an independent tester who was not involved in the remediation work itself.
- Confirm the visual, moisture, and sampling criteria in writing before testing begins.
- Require lab analysis from a facility accredited to ISO/IEC 17025, plus a written clearance report.
Pro Tip: Ask for the acceptance criteria in writing before any samples get collected. If your contractor can’t tell you what “pass” looks like ahead of time, that’s a red flag.
Industry practice generally targets indoor mold spore levels to be comparable or lower than outdoor levels, and mold can begin colonizing wet materials within a few days, which is why the timing of both remediation and testing matters as much as the methods used.
Key Takeaways
A mold clearance test succeeds when independent verification combines visual inspection, moisture readings, and comparability to outdoor air, not a single sampling number.
| Point | Details |
|---|---|
| Independence is non-optional | The tester should never be the same contractor who performed the remediation work. |
| Three pillars, not one | Visual inspection and moisture verification carry more weight than air sampling alone. |
| Accreditation matters | Insist on labs accredited to ISO/IEC 17025 through bodies like CALA or SCC. |
| Comparability beats fixed numbers | Indoor results should match outdoor background levels, not hit a universal threshold. |
| HMJ builds clearance in from the start | Hmjcontracting offers PRV-ready remediation scopes with independent testing and documented reports available on request. |
Table of Contents
- What a mold clearance test actually checks, and when to request one
- Who should perform clearance testing, and what to ask for
- Visual checks, moisture readings, and when sampling gets used
- When to schedule testing during the remediation timeline
- How results get interpreted, and what happens if a space fails
- Preparing your property and avoiding test-invalidating mistakes
- What clearance testing typically costs and how long it takes
- How HMJ Contracting supports post-remediation verification
- Contaminants beyond mold spores that clearance testing may cover
- Why mold exposure symptoms matter when reading your results
- How clearance standards differ across jurisdictions
- Request PRV-ready remediation from HMJ Contracting
- Frequently asked questions about mold clearance testing
- Sources
What a mold clearance test actually checks, and when to request one
Diagnostic testing happens before remediation starts. It answers “is there a problem, and how big is it?” A mold clearance test asks a completely different question after the work is done: “did the remediation succeed?” That distinction trips up a lot of homeowners who assume one test covers both jobs.
You should request post-remediation verification in these situations:
- After any professional remediation project, especially one involving containment or negative-air equipment.
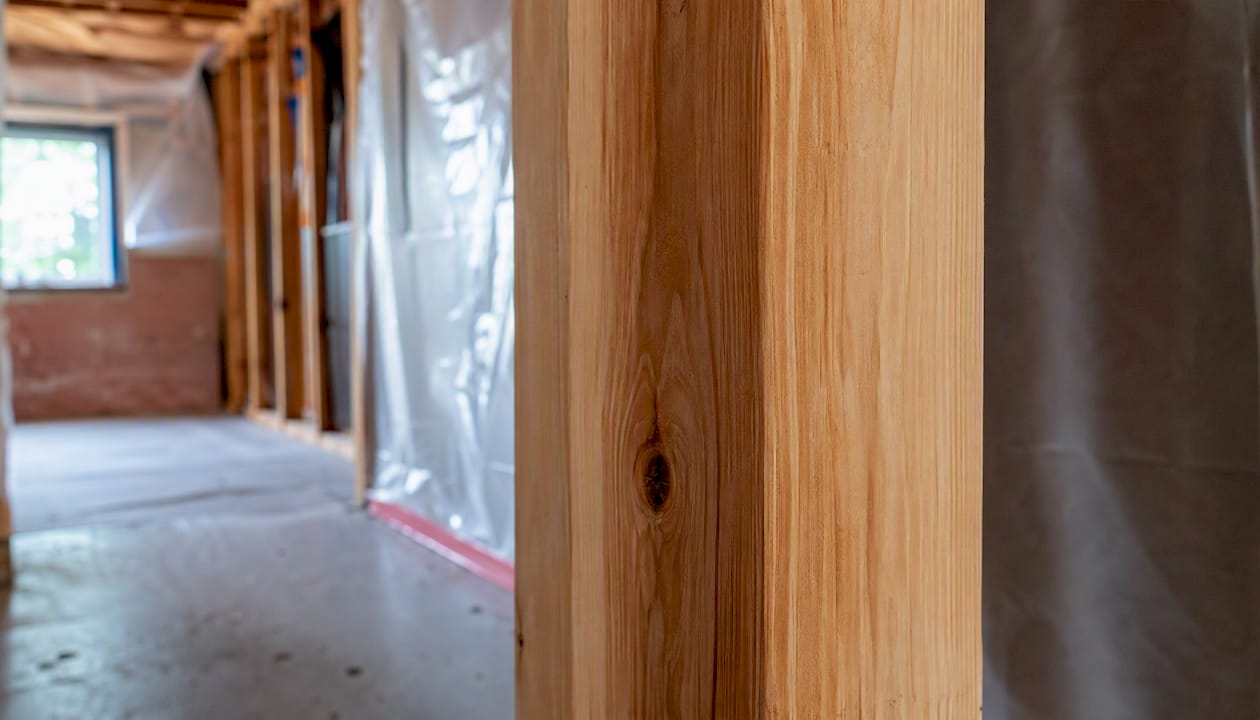
- Before reconstruction begins, since rebuilding over a failed clearance locks the problem behind new drywall.
- When insurance claims or a home sale require documented proof the property is clear.
- After large-scale or hidden contamination, such as mold found inside wall cavities.
- Following flooding or a slow leak that soaked structural materials.
Health Canada’s guidance treats visual inspection as the primary tool and reserves sampling for situations where it answers a specific question. Post-remediation verification happens after cleanup is finished but before the containment barriers come down, which is the only point where testing still means something. A documented clearance report becomes useful leverage later too, whether that’s with an insurer, a future buyer, or a contractor’s workmanship guarantee.
Who should perform clearance testing, and what to ask for
The person who did the remediation should never be the one who clears it. That’s not a knock on any particular contractor. It’s a basic conflict-of-interest problem: nobody grades their own homework fairly, even with good intentions.
Look for an independent indoor-environment consultant or a certified industrial hygienist with no financial stake in the remediation contract. Before they start, ask for:
- A written scope of work and sample plan.
- Chain-of-custody forms for any samples collected.
- The full laboratory report, not just a summary page.
- Photos and moisture logs documenting conditions before and after.
- A final written clearance statement with a clear pass or fail conclusion.
Lab accreditation matters more than most homeowners realize. ISO/IEC 17025 is the international standard for testing and calibration laboratories, and in Canada it’s administered through bodies like CALA (Canadian Association for Laboratory Accreditation) and the SCC (Standards Council of Canada). An unaccredited lab can still run a test, but there’s no independent check on its methods or results.
Pro Tip: Insist the inspector’s report states acceptance criteria in writing before sampling begins, not after the results come back. Otherwise, “pass” can quietly become whatever number the lab happened to find.
Visual checks, moisture readings, and when sampling gets used
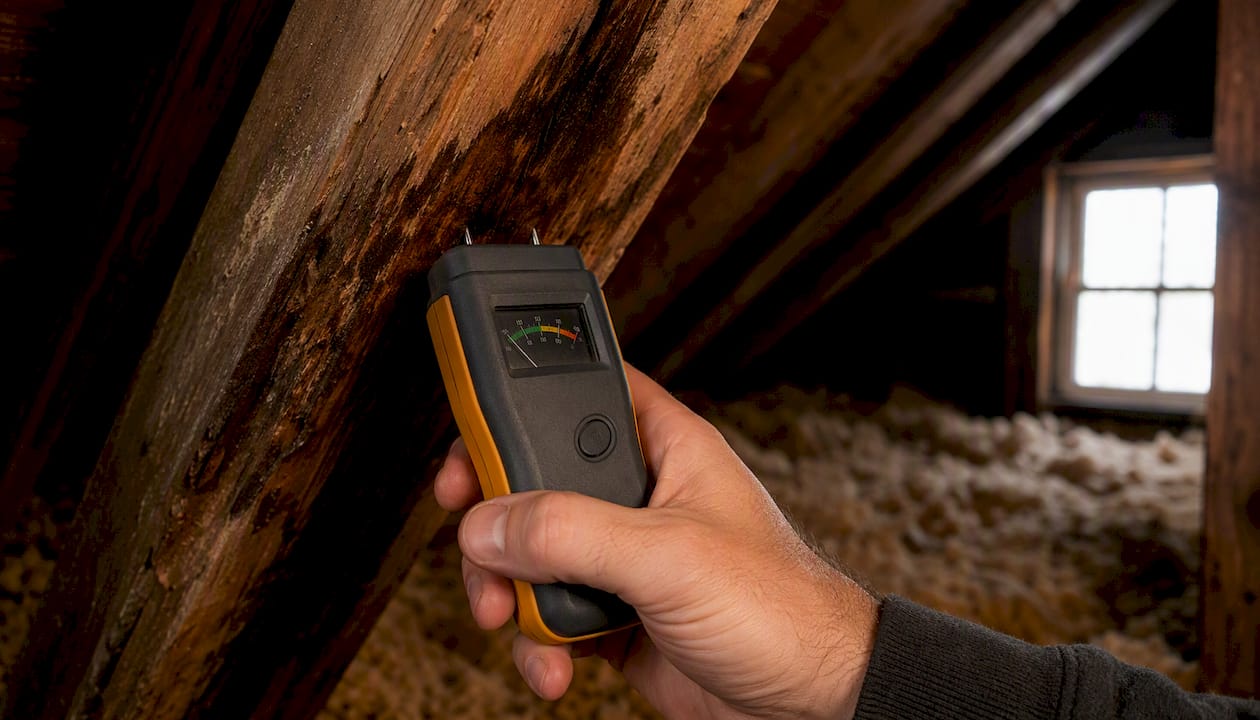
Clearance testing rests on three pillars, and they’re not equally weighted. Visual inspection comes first: a “white glove” style check confirming no visible mold, dust, or debris remains on any surface. Moisture verification follows, using pin or pinless meters and relative humidity readings to confirm materials have dried to acceptable levels. Sampling is the third pillar, and it’s used selectively, not automatically.
When sampling does happen, a few methods dominate:
- Non-viable air sampling (spore-trap microscopy): fast and widely used, but it counts spores without confirming whether they’re alive.
- Viable air sampling (culture-based): identifies living organisms and species, though it takes days longer and misses spores that won’t grow in lab conditions.
- Surface tape lifts and swabs: good for confirming what’s growing on a specific surface, but they only tell you about that one spot.
- Bulk and cavity samples: useful for hidden or wall-cavity contamination, though they require some destructive access.
NCCEH’s evidence review is blunt about a key limitation here: sampling results are variable, don’t measure health dose, and are often unnecessary when mold is already visible. Air counts without a simultaneous outdoor control sample can mislead more than they clarify.
When to schedule testing during the remediation timeline
Testing at the wrong moment produces results nobody can trust. The sequence matters:
- Remediation work finishes, including removal of all contaminated materials.
- Final cleaning happens: HEPA vacuuming and damp wiping of all surfaces in the containment area.
- A settling period, commonly around 24 hours, allows disturbed dust to resettle.
- Negative-air machines keep running during sampling, with containment still fully intact.
- Outdoor background samples and indoor samples get collected at the same time, for comparison.
Spore-trap microscopy results typically come back within a day or two. Culture-based or PCR testing takes longer, sometimes closer to a week, because it involves growing organisms out. Rushing this sequence, especially skipping the settling period, is one of the most common reasons a clearance test produces a false result.
How results get interpreted, and what happens if a space fails
There’s no single magic number that defines “clean” air. The core principle used across industry guidance like IICRC S520 and AIHA protocols is comparability: indoor spore counts and species should look similar to what’s found outdoors, not zero.
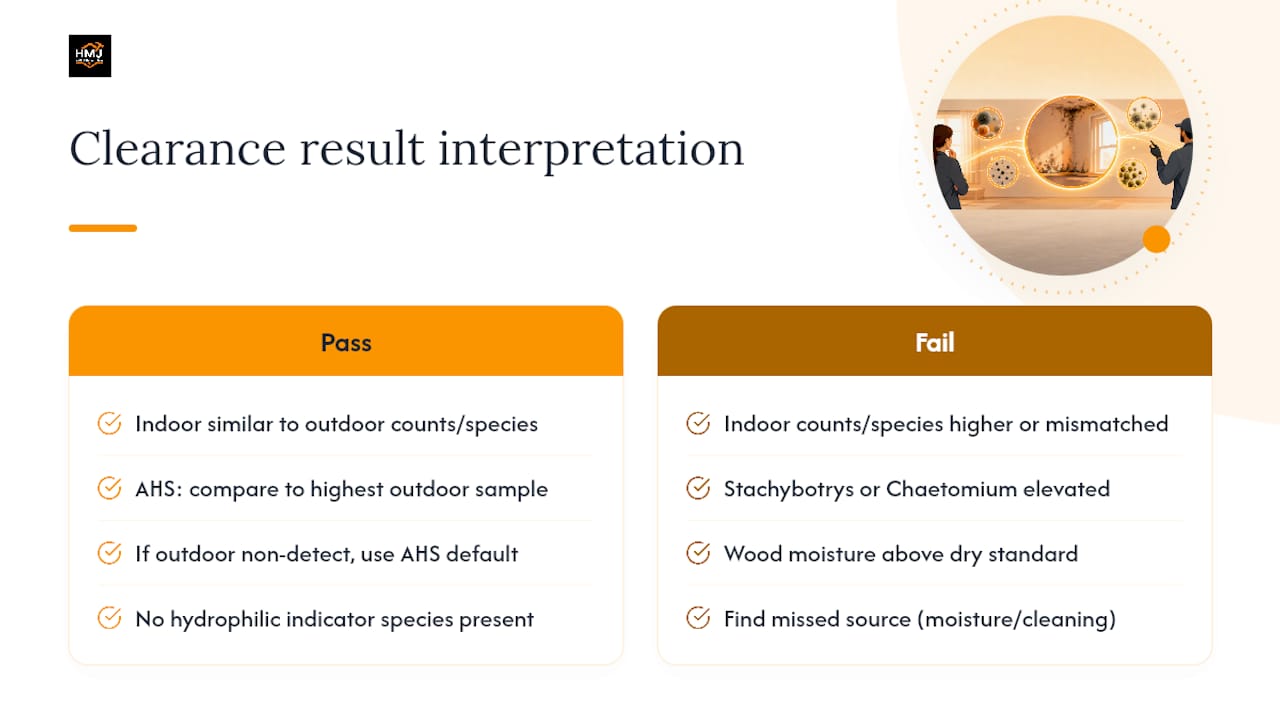
Alberta Health Services uses genus-specific equations that compare indoor readings against the highest outdoor sample, or a default value when outdoor air tests non-detectable. Red flags that override a comparability pass include the presence of hydrophilic indicator species such as Stachybotrys or Chaetomium at elevated indoor levels, or wood moisture content above generally accepted dry standards.
The practical flow works like this: if the space passes, the inspector documents it and containment can come down. If it fails, the next step is identifying what got missed, whether that’s a hidden moisture source or an incomplete cleaning pass, followed by targeted re-remediation and a retest.
Pro Tip: Get the acceptance criteria and a rework guarantee written into the remediation contract before work starts. It turns a potential dispute into a straightforward retest.
Preparing your property and avoiding test-invalidating mistakes
A clearance test can fail for reasons that have nothing to do with remediation quality. Before testing day, keep containment barriers intact, avoid any cleaning that could stir up settled dust right before sampling, confirm negative-air machines are running, and set up an outdoor sampling location away from vents or exhaust fans. Document conditions with photos and moisture logs as you go.
Common mistakes that invalidate results:
- Breaking containment before the tester arrives.
- Sampling immediately after cleaning, before dust has settled.
- Letting the remediation contractor test their own work.
- Leaving moisture repairs incomplete while treating the mold symptom.
- Choosing a lab with no accreditation to save a few dollars.
Your contract with the remediator should spell out sample count, an independent inspector requirement, lab accreditation standards, and a clear retest policy with timelines attached. Vetting a contractor properly before hiring them prevents most of these problems before they start.
What clearance testing typically costs and how long it takes
Pricing varies with sample count, property size, travel and lab fees, and which test methods get used. Spore-trap microscopy runs cheaper and faster than culture-based or PCR testing, and adding thorough moisture verification alongside visual inspection adds modest cost but real value.
- Expect itemized quotes that separate inspection time, sample collection, lab analysis, and report writing.
- Budget for a possible retest if the first clearance attempt fails.
- Ask how long lab turnaround typically takes for the specific method proposed, since rushed results are unreliable results.
Getting quotes broken into these line items lets you compare providers on equal footing instead of guessing what’s actually included.
How HMJ Contracting supports post-remediation verification
Hmjcontracting builds remediation projects with clearance testing in mind from the start, not as an afterthought. That means:
- Coordination with accredited lab partners for any sampling required.
- Independent third-party clearance inspections available on request, separate from the remediation crew.
- Documented visual and moisture verification at project completion.
- Photographic records and a written clearance report you can keep for insurance or resale purposes.
Backed by a perfect 5.0-star Google rating, licensed abatement credentials, and decades of local project experience, Hmjcontracting’s mould remediation service includes guarantee language on completed work. Ask for a PRV-ready scope when requesting your quote.
Contaminants beyond mold spores that clearance testing may cover
Mold spores are the headline concern, but a thorough clearance test sometimes looks at more than spore counts. Mycotoxins, the toxic byproducts certain mold species produce, occasionally get tested for in cases involving heavy Stachybotrys contamination or persistent health complaints, though mycotoxin testing remains less standardized than spore counting and results are harder to interpret consistently across labs.
Allergens tied to mold, such as fragments of hyphae or cell wall components, can also trigger reactions even when live spores are no longer present. This matters because a space can show low viable spore counts while still carrying enough allergenic material to bother sensitive occupants. Dust and settled debris sampling sometimes gets added to a clearance scope specifically to check for this residual material.
Bacterial contamination is another consideration in cases involving prolonged water damage, since standing water rarely hosts mold exclusively. A comprehensive clearance protocol accounts for the specific contamination history of the property rather than defaulting to a generic spore count.
None of this means every clearance test needs an expanded contaminant panel. NCCEH’s evidence review is clear that testing should answer a specific question, not run every available panel by default. If your property had extensive water damage, heavy contamination, or occupants with health sensitivities, ask your inspector whether an expanded scope makes sense before sampling begins. For a typical residential mold cleanup, spore counts and species identification usually tell the whole story.
Why mold exposure symptoms matter when reading your results
Understanding why clearance testing exists in the first place helps make sense of the numbers on a lab report. Mold exposure is linked to respiratory irritation, allergic reactions, and worsened asthma symptoms in sensitive individuals, and certain species produce compounds that raise additional health concerns at high concentrations.
This is precisely why Health Canada’s guidance treats visual cleanliness and moisture control as the priority over chasing a specific spore count. A lab report showing a “pass” doesn’t mean zero spores exist. It means indoor conditions are now comparable to outdoor background levels, which is the same air people breathe outside every day without concern.
For occupants with pre-existing respiratory conditions or immune sensitivities, comparability to outdoor air may still not feel like enough reassurance, and that’s a fair concern. In these cases, some professionals recommend a follow-up evaluation three to six months after remediation to confirm mold hasn’t returned, since a fresh moisture problem in the same area can defeat an otherwise successful cleanup. Interpreting a clearance report means understanding what the numbers represent, not just whether they cleared a threshold.
How clearance standards differ across jurisdictions
There’s no single national law in Canada mandating specific clearance testing procedures for residential mold remediation. Instead, the field runs on a mix of federal guidance, provincial health authority protocols, and industry standards that fill in the practical details.
Health Canada’s guidance functions as the baseline reference most professionals work from, emphasizing visual inspection first and accredited lab analysis when sampling is warranted. Provincial and regional health authorities sometimes add their own interpretive frameworks. Alberta Health Services, for instance, publishes specific fungal air-testing equations that translate outdoor comparability into concrete acceptable indoor counts, giving inspectors in that jurisdiction a documented method to justify a pass or fail decision.
These aren’t laws, but they’ve become the de facto professional standard that reputable inspectors follow regardless of province.
Commercial properties sometimes face additional occupancy requirements tied to building codes or workplace safety regulations, which can mean stricter documentation demands than a residential clearance would require. If you manage a commercial property, confirm what your local building authority expects before assuming residential clearance standards apply.
A short note on what actually goes wrong
The most common failure isn’t a bad air sample. It’s dust left behind on surfaces that were supposed to be cleaned. A thorough visual clean paired with corrected moisture almost always tells you more than a single air count ever will.
Request PRV-ready remediation from HMJ Contracting
Hmjcontracting is the practical alternative to hiring a remediation crew and then scrambling separately to arrange independent verification. Every mould remediation project can be scoped from the outset to be PRV-ready, meaning the documentation an insurer, buyer, or your own peace of mind requires gets built in rather than bolted on afterward.
That means licensed abatement work, independent clearance testing available on request through accredited lab partners, and clear photographic and written documentation you can hand to an insurance adjuster or a home buyer without scrambling to reconstruct a paper trail months later. When you request a quote, ask specifically for a PRV-ready scope, and Hmjcontracting will outline sample counts, inspection independence, and retest terms before any work begins. Start with a free quote for mould remediation or explore abatement services if your project involves asbestos or lead alongside mould concerns.
Frequently asked questions about mold clearance testing
Is a mold clearance test required by law in Canada? There’s no single federal law mandating clearance testing for residential mold remediation. Health Canada’s guidance functions as the accepted professional standard, and some provinces or commercial building codes add their own requirements.
How long does a post-remediation mold clearance test take? Visual and moisture checks happen the same day. Spore-trap air sampling results typically return within a day or two, while culture-based or PCR testing can take closer to a week.
Can the remediation company also do the clearance testing? Independence matters here. Reputable industry standards like IICRC S520 specify the remediator should not clear their own work, since that creates an obvious conflict of interest.
What happens if my property fails a mold clearance test? The inspector identifies the missed source or cleaning gap, the remediator addresses that specific area, and a retest follows once corrections are complete.
Does a passed clearance test mean zero mold spores are present? No. It means indoor spore levels and species are comparable to outdoor background air, which is the practical benchmark used across accepted clearance protocols rather than a zero-spore standard.
This article is general information, not a substitute for advice from a qualified doctor. Consult a qualified healthcare professional about your own circumstances before acting on anything here.
Sources
These government and industry documents shaped the standards referenced throughout this guide:
- Canada
- Mould remediation evidence review - NCCEH
- Fungal air testing for mould-contaminated buildings - Alberta Health Services