
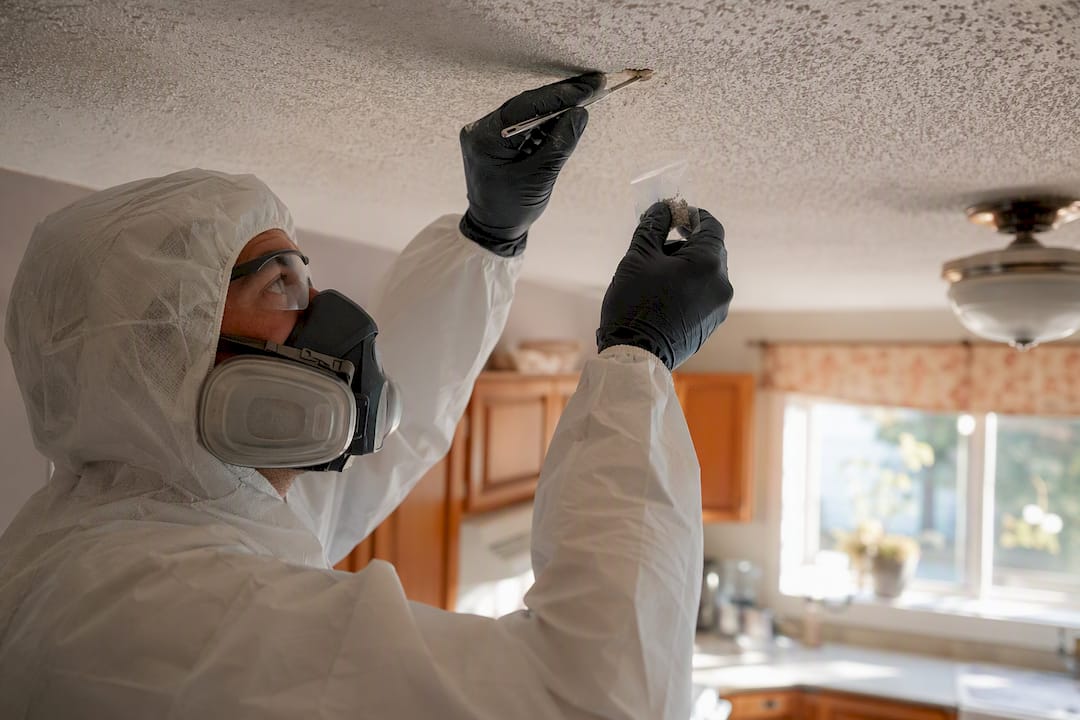
If your popcorn ceiling went up before roughly 1990, treat it as suspect until a lab says otherwise. Do not scrape, sand, drill into, or even brush against the texture. Disturbance, not the material sitting quietly overhead, is what turns asbestos into an airborne hazard. Homes built between the 1950s and the early 1990s make up the bulk of cases, since asbestos-containing textures were common through that whole window.
Here is what to do right now, before any renovation, patch job, or light fixture swap:
- Leave the texture alone. No scraping, sanding, or dry sweeping of debris.
- Keep kids, pets, and foot traffic out of rooms with flaking or water-damaged ceiling.
- Book a lab test, either a DIY sampling kit or a qualified sampler, before touching anything.
A key figure to remember: regulators generally treat any material containing 1% asbestos by weight or more as regulated asbestos-containing material (ACM), the threshold that triggers formal abatement rules under Ontario’s O. Reg. 278/05.
Key takeaways
Treating pre-1990 popcorn ceiling as suspect, avoiding disturbance, and getting a lab test before renovating is the single most reliable way to manage asbestos risk in an older home.
| Point | Details |
|---|---|
| Treat older ceilings as suspect | Homes with texture applied before roughly 1990 should be presumed ACM until a lab test says otherwise. |
| Disturbance creates the risk | Intact, undamaged material poses minimal risk; scraping, sanding, or water damage is what releases fibres. |
| Test each room separately | A negative result in one area does not clear a different textured room in the same house. |
| Match the fix to the result | Leave in place, encapsulate, cover, or remove professionally, depending on condition and renovation plans. |
| Hire a documented professional | Hmjcontracting provides licensed abatement with itemized quotes and clearance testing homeowners can keep on file. |
Table of Contents
- How do you test a popcorn ceiling for asbestos?
- When does an asbestos ceiling actually become dangerous?
- What are your options once you get test results back?
- What does professional asbestos abatement actually involve?
- What should you budget for testing and abatement?
- What do you do if you accidentally disturb the ceiling?
- Why does hiring a certified contractor matter here?
- What the research actually supports, and what gets overstated
- Ready to deal with a suspect ceiling the right way?
- Sources
How do you test a popcorn ceiling for asbestos?
Visual inspection tells you almost nothing useful. Asbestos fibres in textured ceiling are invisible to the eye, and popcorn made with asbestos looks identical to the cellulose-based version that replaced it. The build date is a better clue than anything you can see. If the drywall or ceiling texture was applied before the early 1990s, treat it as suspect until proven otherwise by lab analysis.
If you decide to collect a sample yourself, follow these steps closely:
- Turn off HVAC and close doors to stop fibres from travelling to other rooms.
- Lightly mist the sample area with water to keep dust down.
- Wear a properly fitted N100 respirator and disposable gloves.
- Lay plastic sheeting below the sample spot to catch debris.
- Cut a small, dime-sized piece using a wet knife or corer, and place it directly into a sealed sample bag.
- Label the bag with location, date, and a chain-of-custody note, then ship it to an accredited lab.
Skip the DIY approach entirely if the ceiling is already damaged, if you have more than one or two areas to sample, or if you plan major renovation. In those cases, a qualified sampler or hygienist is worth the cost.
Labs typically run one of two tests. Polarized light microscopy (PLM) is the workhorse: fast, inexpensive, and accurate enough for the vast majority of bulk samples. Transmission electron microscopy (TEM) is the confirmatory method, used when PLM results are borderline or when a more sensitive fibre count is required. PLM identifies fibre type and percentage by weight, while TEM adds resolution for edge cases. A negative result on one sample does not clear the whole house. Sample each distinct textured area separately, since popcorn applied in different rooms or renovation phases can vary in composition.
When does an asbestos ceiling actually become dangerous?
Asbestos only harms you once its fibres become airborne and get inhaled. A ceiling that has sat untouched for forty years, in good condition, is not releasing anything. The risk shows up the moment that material is disturbed, and how much risk depends on both fibre concentration and how long you breathe it in.
Two conditions matter most:
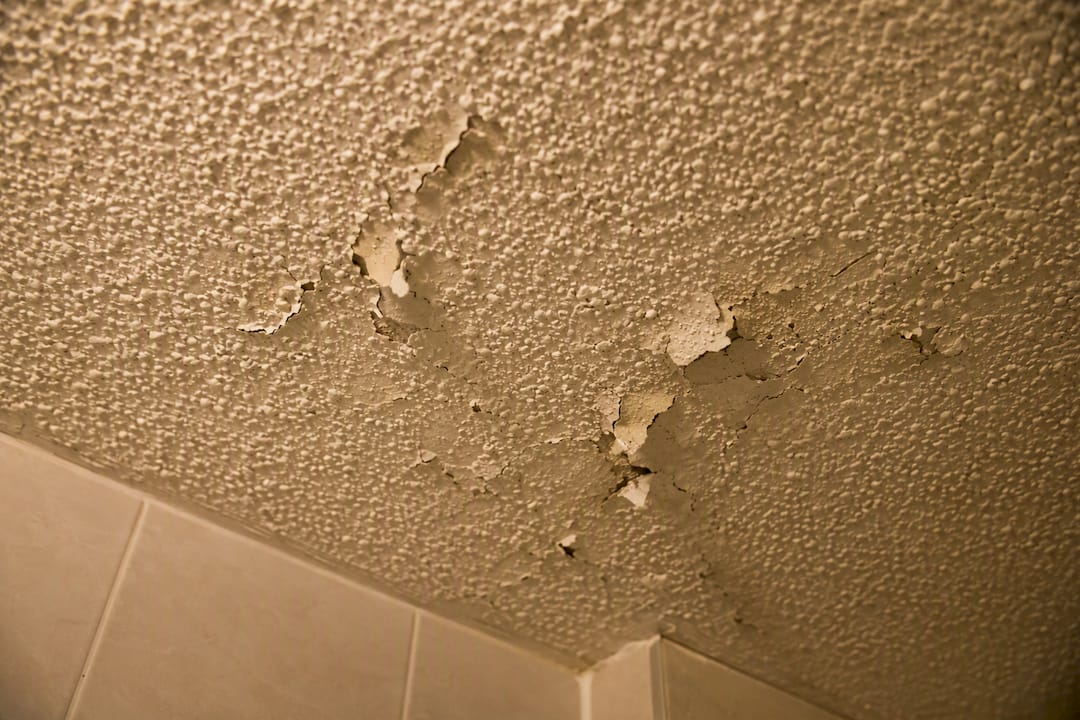
- Friability: crumbly, damaged, or water-stained texture releases fibres far more easily than a solid, painted surface.
- Disturbance: drilling, sanding, scraping, or even aggressive vacuuming can send fibres into the air.
- Water damage: leaks and staining break down the binding matrix and raise friability over time.
Health Canada’s own guidance draws a clear line here: intact, undisturbed material in good condition poses minimal immediate risk, while planned disturbance changes the calculus completely. A short accidental exposure, like knocking a ceiling panel loose while moving furniture, is not the same as years of occupational exposure in a trade job. But even a brief accident deserves documentation and, often, a lab test, since dose and duration both factor into any real health assessment.
What are your options once you get test results back?
A positive result does not automatically mean tear-out. Four paths exist, and the right one depends on the ceiling’s condition, your renovation plans, and how much disruption you can tolerate.
- Leave it in place. If the texture is intact, undamaged, and you have no renovation planned, doing nothing is often the lowest-risk option. Keep the lab report on file and monitor the ceiling for cracking, staining, or flaking going forward.
- Encapsulate with paint. A sealant-grade coating locks fibres into the surface, and it’s usually the cheapest intervention. The catch: you can never drill, hang a fixture, or sand that ceiling again without redoing the containment work first.
- Cover it. Installing new drywall or a suspended ceiling directly over the texture isolates it without removing anything. This adds finishing cost and slightly lowers ceiling height, but it sidesteps the legal and logistical weight of full abatement.
- Remove it professionally. Required when the material is already damaged, when a renovation will disturb it directly, or when a sale or insurance requirement demands documented clearance.
Pro Tip: If you choose encapsulation or covering, get it noted in writing, including the sample results, so a future buyer or renovator does not accidentally drill into contained asbestos years later.
Encapsulation and covering can be genuinely cost-effective ways to lower short-term risk, but both impose permanent restrictions on what you can safely do to that ceiling later. If you’re weighing a full building sale, pre-listing condition documentation for other building systems follows the same logic: paperwork now saves disputes later.
What does professional asbestos abatement actually involve?
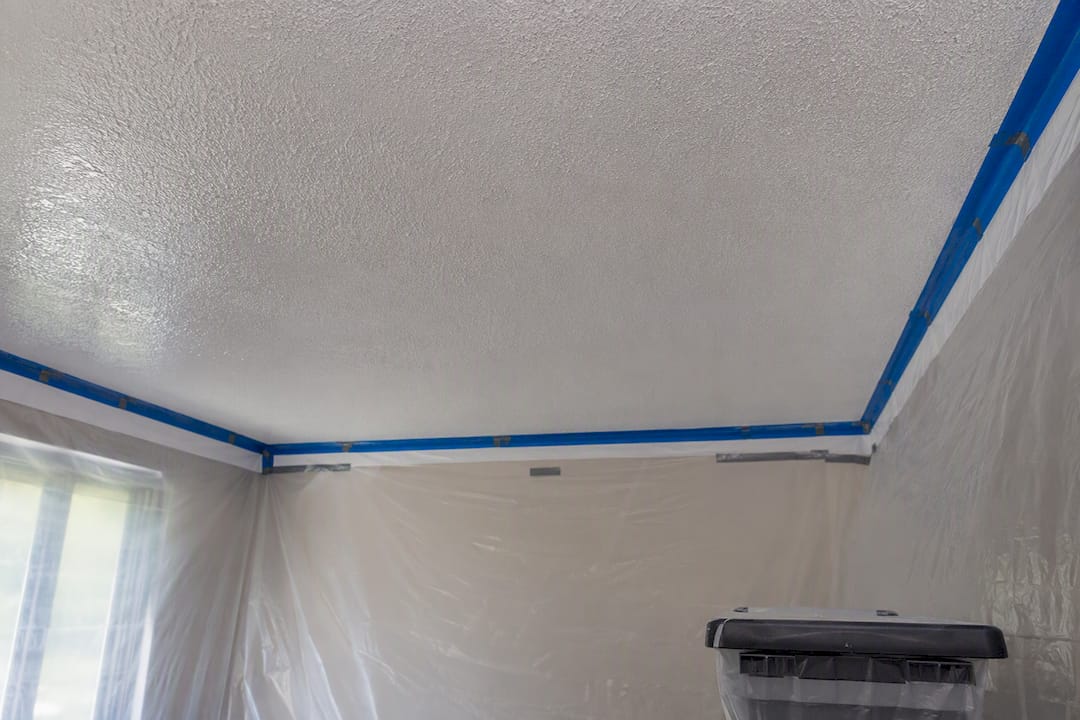
Licensed abatement is a sequence, not a single visit. A properly run job moves through inspection, sampling, a written abatement plan, physical containment with negative-pressure air handling, wet removal to suppress dust, HEPA-filtered cleanup, and legal disposal with full documentation at the end.
Ontario’s O. Reg. 278/05 sets the legal framework that determines how much of that sequence is required. The regulation classifies work into Type 1, 2, and 3 operations based on the scale of disturbance and the friability of the material:
- Type 1: small-scale, low-disturbance work with minimal fibre release potential.
- Type 2: moderate-scale work requiring more rigorous controls and worker protection.
- Type 3: large-scale or high-friability removal requiring full containment, negative-pressure enclosures, and air monitoring.
The 1% asbestos by weight threshold is the number that decides whether material counts as regulated ACM at all, and it’s what pulls a project into this classification system in the first place. Anything above that line means notification requirements, worker protection protocols, and documented controls apply before work begins.
What should you budget for testing and abatement?
Testing costs range widely depending on how hands-on you want to be. A DIY sampling kit with lab analysis typically runs $25 to $50 per kit, with lab fees adding another $30 to $100 per sample. Hiring a professional sampler instead, someone who collects the sample and handles chain-of-custody for you, generally costs $200 to $600 depending on the number of rooms and travel distance.

Abatement itself is commonly quoted at $3 to $8 per square foot for removal alone, before finishing costs like new drywall, mudding, and repainting. A typical bedroom or home office often lands in the low thousands once removal and refinishing are both included; a full-floor job scales up fast with square footage and containment complexity.
Timeline moves quicker than most homeowners expect. Sampling takes minutes, lab turnaround is usually a few business days, and a straightforward Type 1 abatement job can be scheduled and finished within a week or two. Larger Type 3 jobs with full containment take longer to plan and execute, since setup and clearance testing both add time.
What do you do if you accidentally disturb the ceiling?
If a popcorn ceiling cracks, crumbles, or gets scraped before you know what it’s made of, treat the next few minutes as damage control, not cleanup.
- Evacuate the room immediately and close the door behind you.
- Turn off HVAC to stop fibres circulating through ductwork.
- Mist the debris lightly with water. Never dry-sweep or vacuum it; that just launches fibres into the air.
- Bag visible debris carefully and photograph the damage for your records.
- Preserve a sample of the debris with proper chain-of-custody labelling if you plan to submit it for testing.
- Call a qualified tester or licensed abatement contractor, and notify your insurer if the disturbance was accidental damage.
Pro Tip: Photograph the damage before you touch anything, even the mist step. Insurers and contractors both want a clear “before” record if a claim or remediation plan follows.
Why does hiring a certified contractor matter here?
DIY abatement looks manageable online, but containment, negative-pressure setup, and heavy wet removal work are physically demanding and legally sensitive tasks that often create more contamination than they solve when handled without training. Before hiring anyone, ask for these documents:
- Abatement licence and current liability insurance
- An itemized quote, not a lump-sum estimate
- A clearance test report following removal
- Waste manifests showing legal disposal
- Before-and-after photos for your records
Hmjcontracting brings certified abatement services with a documented, itemized quote process and a perfect 5.0-star Google rating built on hundreds of completed projects. That combination matters because it turns a stressful, technical process into a paper trail you can hand to a future buyer, insurer, or building inspector without hesitation.
A clearance test report and a full waste manifest are what separate a documented, defensible renovation from one that raises questions at resale.
What the research actually supports, and what gets overstated
Most popcorn ceiling advice online swings between two extremes: panic (“rip it all out now”) or dismissal (“it’s probably fine, just leave it”). Neither holds up against what regulators and labs actually say. The evidence supports a narrower, less dramatic position: age and condition are your two real variables, and testing is cheap enough that guessing makes no sense.
What’s overrated is visual inspection. Homeowners spend hours staring at texture trying to judge asbestos content by eye, when a PLM test costs less than a dinner out and gives an actual answer. What’s underrated is documentation. A test result, whether positive or negative, becomes part of your property’s paper trail. It protects you at resale, with insurers, and with any future contractor who touches that ceiling.
If there’s one place conventional advice falls short, it’s the middle step: too many guides jump from “test it” straight to “hire abatement,” skipping the fact that encapsulation or covering are often legitimate, permanent solutions for intact material. Test first. Match the fix to what the lab actually finds. Don’t let fear or false confidence make that decision for you.
— Jason
Ready to deal with a suspect ceiling the right way?
Testing tells you what you’re dealing with, but acting on a positive result is where most homeowners get stuck, and that’s exactly the gap Hmjcontracting closes. Unlike a general contractor bidding renovation work with abatement tacked on as an afterthought, Hmjcontracting runs certified abatement as a core service, with itemized quotes that show you exactly what containment, removal, and clearance testing cost before work starts.

That transparency matters most right after a positive lab result, when homeowners are weighing whether a quote is fair or padded. Hmjcontracting’s documented process, backed by a 5.0-star Google rating across hundreds of completed jobs, gives you a clearance report and waste manifest you can hand to an insurer or a future buyer without a second conversation. If your test came back positive or you’re planning a renovation that will disturb an older ceiling, request a free itemized quote for abatement and get a scheduled, documented removal plan instead of guesswork. If water damage or musty odours came with the ceiling issue, Hmjcontracting’s mould remediation service covers that combined air-quality concern in the same visit.
This article is general information, not a substitute for advice from a qualified doctor. Consult a qualified healthcare professional about your own circumstances before acting on anything here.
Sources
- Asbestos and your health — Health Canada
- Popcorn ceiling asbestos: how to tell, how to test, and what to do — InspectandTest
- Asbestos FAQ — Lakehead University